
It’s easy to overlook our health and welfl-being in today’s fast-paced and hectic lifestyle. From work deadlines to family obligations, our daily routine often leaves little time for self-care, let alone healthy eating.
However, maintaining a balanced diet is essential for overall health, and bran bars are a fantastic way to incorporate essential nutrients into our diet. Bran-bars are a healthy and nutritious dish that fulfils our taste buds’ cravings and provides various health benefits.
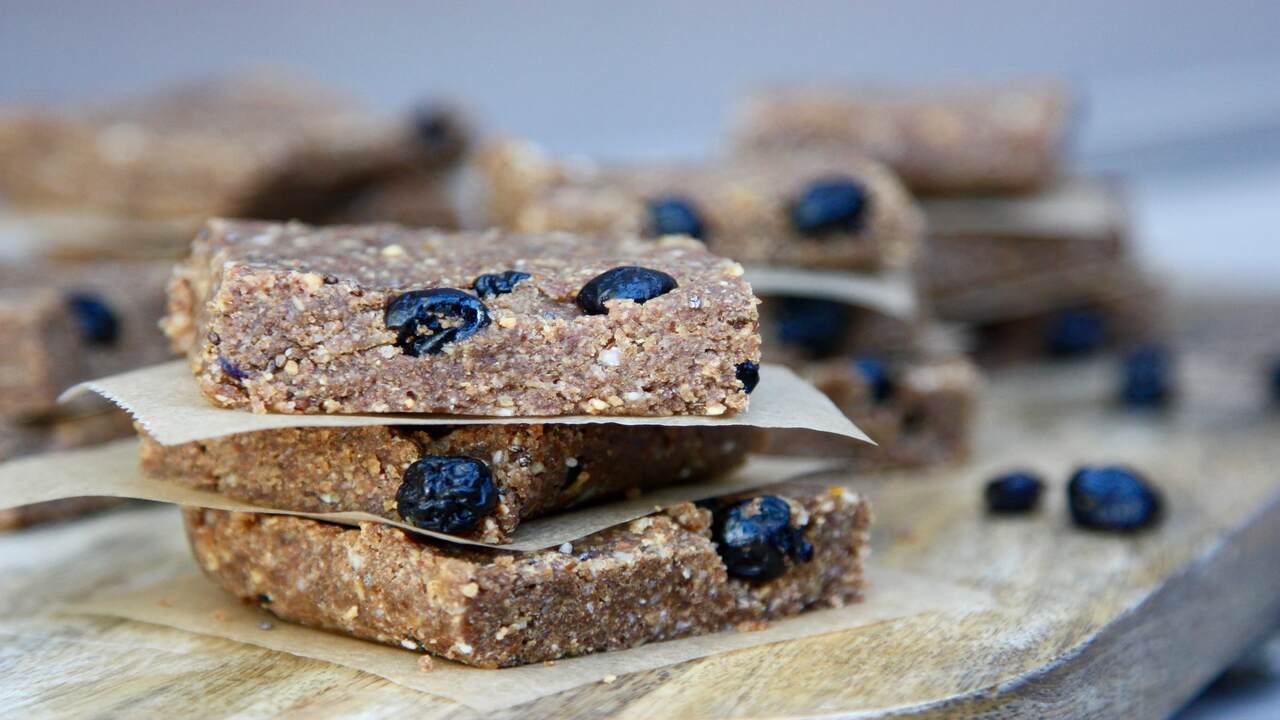
Bran-bars contain ingredients such as bran, oats, nuts, and fruits, making them a perfect source of fibre, protein, and vitamins. They offer a perfect alternative to unhealthy snacking options, and their nutrient-dense composition makes them an ideal breakfast or energy-boosting snack. We will explore the recipe for Bran-bars and the many benefits of bran-bars.
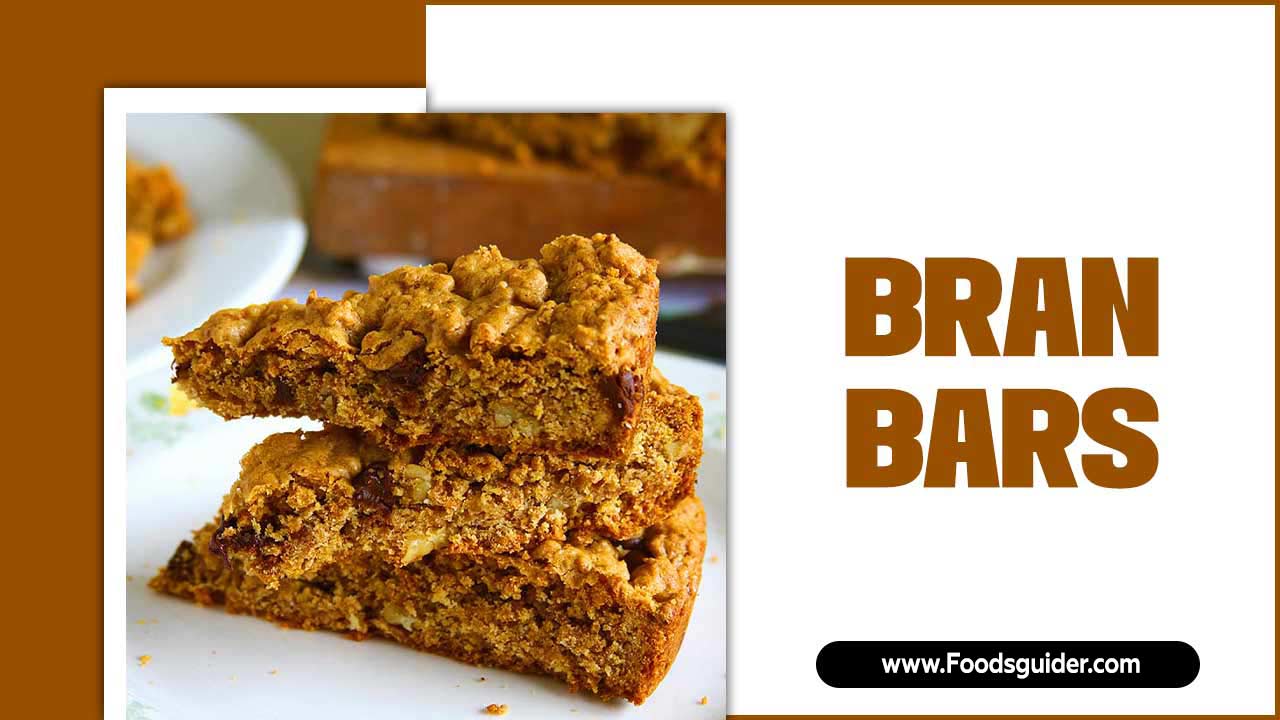
What Are Bran Bars?
Bran bars are a popular snack option for health-conscious individuals looking for a quick and nutritious bite. These bars containing fiber, protein, and other essential nutrients help keep you feeling full and energized throughout the day. Manufacturers typically use whole grain bran, nuts, seeds, and dried fruits to make the bars available in various flavors to suit different tastes.
Some popular options include apple cinnamon, chocolate chip, and peanut butter. Bran-bars are a convenient and portable snack that one can easily stash in a purse, backpack, or gym bag. They are also great for satisfying hunger cravings between meals without resorting to unhealthy options like candy or chips.
Step-By-Step Process To Make Bran Bars Recipe At Home
Knowing how to make Bran Bars Recipe at home is essential for several reasons. Firstly, it lets you control the ingredients used, ensuring that the bars are healthy and free of harmful additives. By making your own bars, you can customize them to your taste and dietary preferences, adding or removing ingredients as necessary.
Secondly, making Bran-Bars home can be more cost-effective than buying pre-packaged bars. Many store-bought bars can be expensive and may not provide the same nutritional value as homemade ones.
Additionally, making your own bars can be fun and rewarding, allowing you to experiment with different flavors and textures. Finally, making Bran-Bars Recipe at home can be a great way to ensure you have healthy snacks when needed.
Ingredients Needed
- 1 cup oat bran
- 1 cup whole wheat flour
- 1/2 cup honey or maple syrup
- 1/4 cup melted coconut oil or unsalted butter
- 1/2 cup chopped nuts (e.g., almonds, walnuts, or pecans)
- 1/2 cup dried fruits (e.g., raisins, apricots, or cranberries)
- 1/4 cup flaxseeds or chia seeds
- 1 teaspoon vanilla extract
- 1/2 teaspoon baking soda
- A pinch of salt
Step 1: Preparing The Dry Ingredients
Preparing the dry ingredients is crucial when making the Bran-Bars recipe at home. Gather all the necessary dry ingredients, including wheat bran, oats, chopped nuts, and dried fruit. Combine these ingredients in a large mixing bowl and stir until evenly distributed.
Next, you should add the baking powder and cinnamon to give the bars a delicious aroma and flavor. You need to mix these dry ingredients thoroughly, as this will ensure that the bars are evenly baked and have a consistent texture.
After mixing the dry ingredients, you can prepare the wet ingredients. Mix the honey, peanut butter, and vanilla extract in a separate bowl until well combined. This mixture will serve as the bars’ base and add a sweet and nutty flavor.
Step 2: Mixing The Wet Ingredients
If you’re looking for a healthy and delicious snack at home, making bran-bars should definitely be on your to-do list. Making bran bars at home is fairly simple, but it requires a bit of preparation. Mixing the wet ingredients is one of the most important steps in the process.
This will hold everything together and give your bran-bars that chewy, delightful texture. To start, you’ll need to gather your ingredients. This will include things like honey, peanut butter, and coconut oil.
Once you have everything ready, you can start mixing. Begin by melting your coconut oil and peanut butter in a small saucepan over low heat. After mixing your wet ingredients, you can add your dry ingredients.
Step 3: Combining Dry And Wet Mixtures
Combining dry and wet mixtures is essential in making the perfect bran-bars recipe at home. It involves carefully mixing the dry and wet ingredients in proportions to achieve the desired consistency and flavor. To start the process, gather all the necessary ingredients, including wheat bran, oats, honey, almond butter, and vanilla extract.
Mix the dry ingredients in a large bowl, including the wheat bran and oats. Next, mix the wet ingredients in a separate bowl, such as honey, almond butter, and vanilla extract. Once the wet ingredients are well mixed, slowly pour them into the dry ingredients, stirring continuously to ensure even distribution.
The mixture should be well combined and sticky enough to hold together when pressed. Once the mixture is ready, spread it evenly in a baking dish and bake for about 20 to 25 minutes until golden brown.
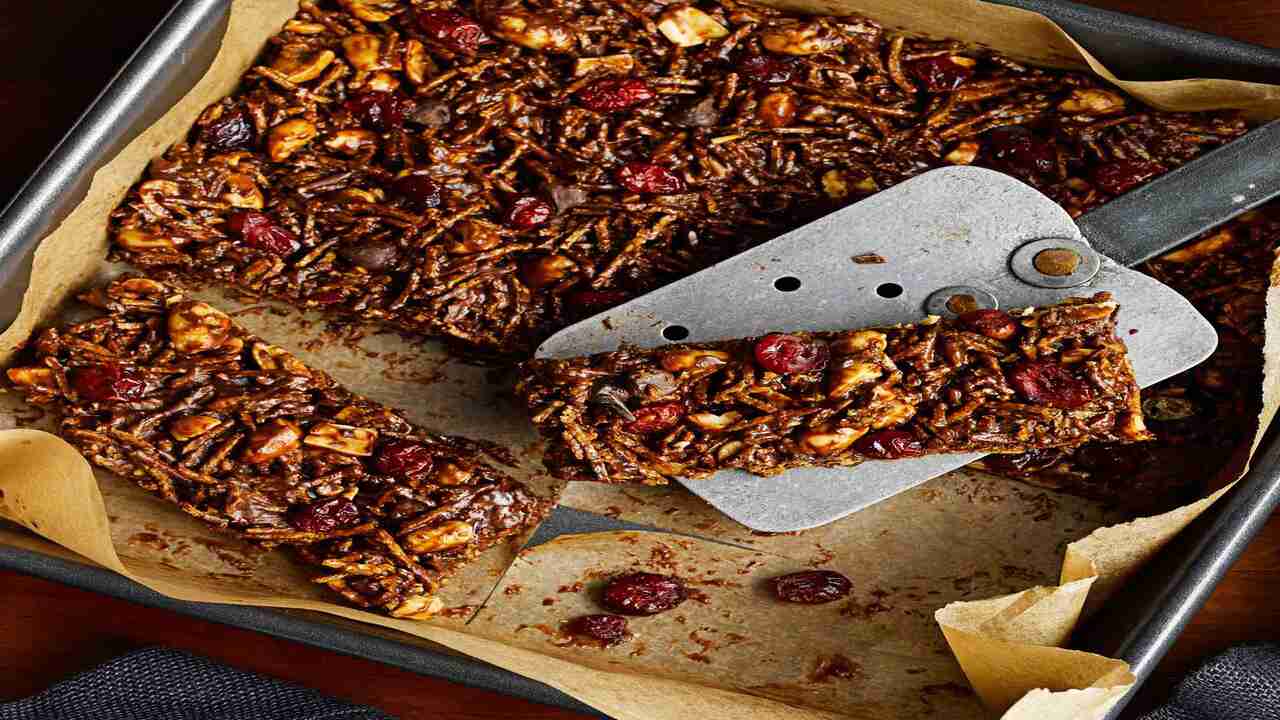
Step 4: Adding Flavors And Enhancements
Making your own bran-bars at home is a great way to control the ingredients and customize the flavors to your liking. One of the best parts about making bran-bars is the ability to add flavors and enhancements. This process allows you to take a basic recipe and turn it into something unique and delicious.
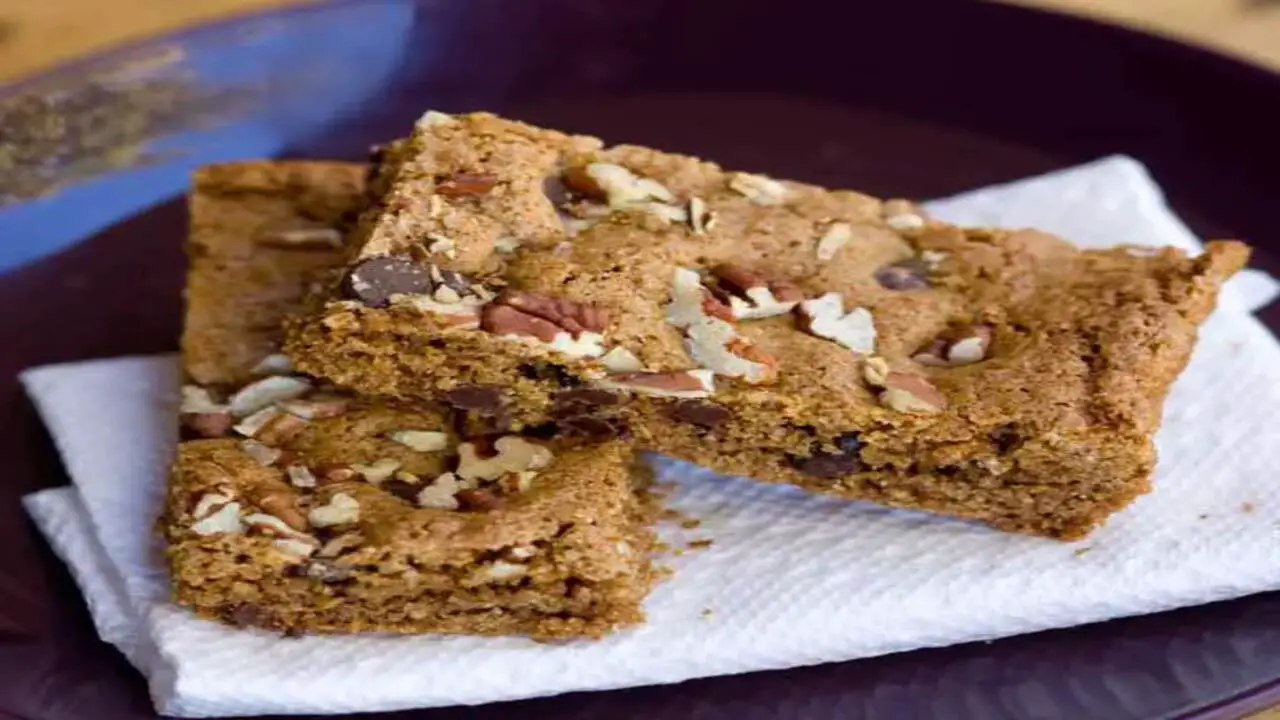
There are many ways to add flavors and enhancements to your bran-bars, such as dried fruits, nuts, chocolate chips, or spices. You could also try adding a drizzle of honey or maple syrup for a touch of sweetness or a sprinkle of sea salt for a savory twist. The possibilities are endless! You’ll need basic ingredients such as wheat bran, oats, and honey to make bran bars at home. You can find recipes online that will guide you through the process step-by-step.
Step 5: Baking The Bran Bars
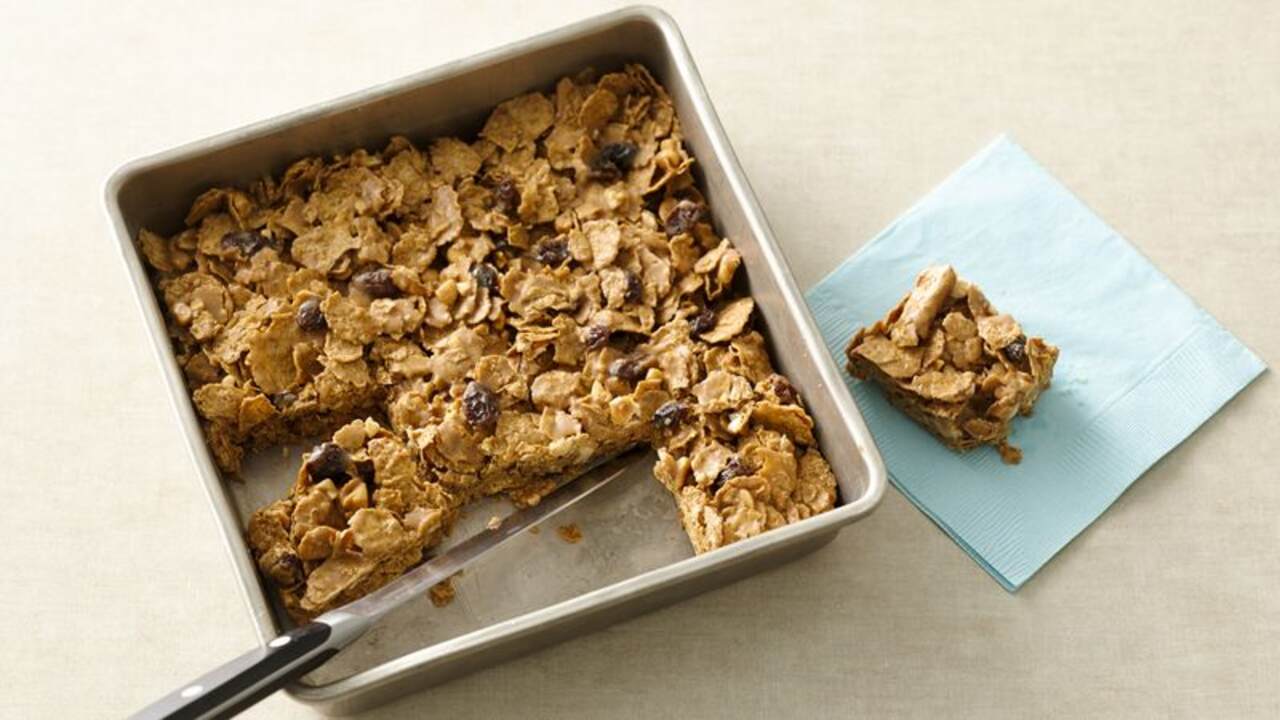
If you’re a fan of healthy snacks, then you must try baking the Bran-Bars recipe at home. The process of making these bars is quite simple. Firstly, gather all the necessary ingredients, which include bran cereal, honey, peanut butter, vanilla extract, and dried fruit.
Preheat the oven to 350 degrees Fahrenheit and prepare a baking dish by lining it with parchment paper. Then, mix all the ingredients in a bowl until they are well combined. Once the mixture is ready, transfer it to the prepared baking dish and flatten it down using a spatula.
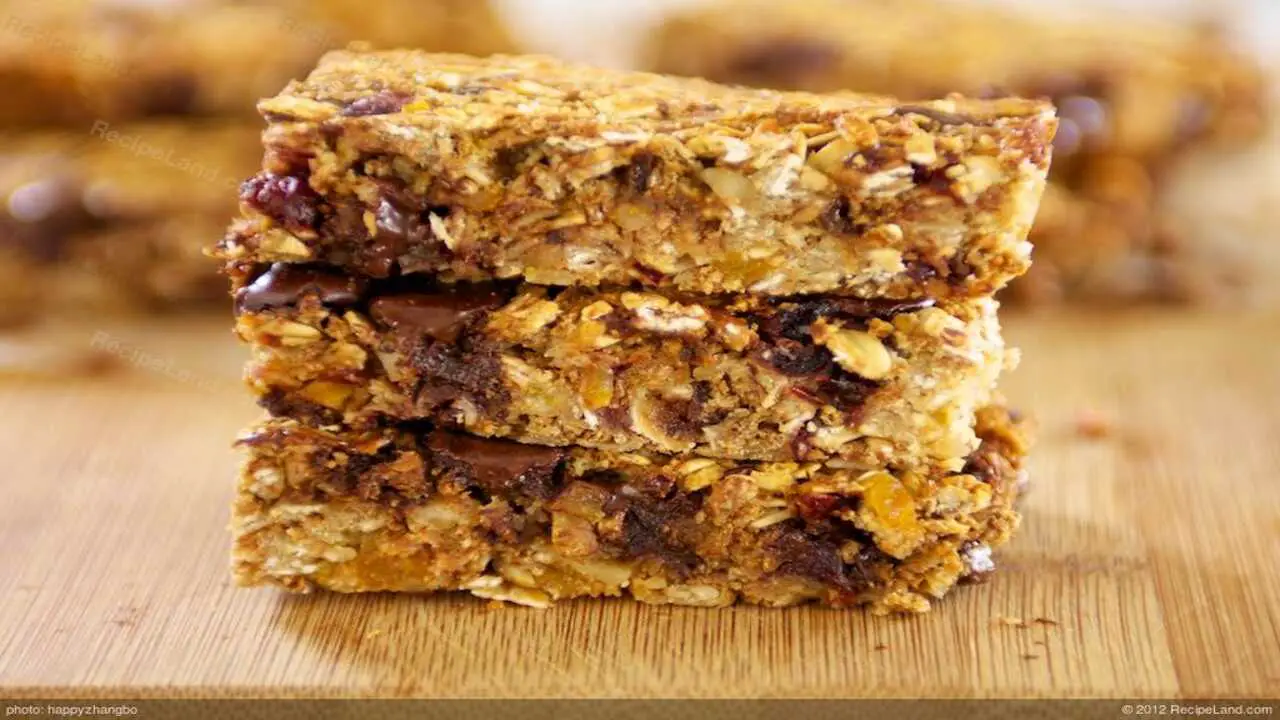
Bake the bars for 20-25 minutes or until golden brown. After baking, take the dish out of the oven and let it cool for about 10 minutes. Cut the bars into desired shapes and sizes once the bars have cooled down.
Step 6: Cooling And Cutting
If you’re looking to whip up some delicious and healthy bran-bars in the comfort of your own home, there are a few key steps you’ll need to follow. First and foremost, you’ll need to prepare the recipe, which typically involves combining bran flakes, nuts, honey, and other ingredients in a mixing bowl.
Once thoroughly combined, you can begin the cooling and cutting process that will transform your ingredients into delicious and portable bars. For cooling, it’s essential to allow your mixture to sit in the fridge or freezer for a time, typically around 20-30 minutes, to solidify and take shape. Once sufficiently cooled, you can begin the cutting process, which involves carefully slicing your mixture into individual bars or squares.
Variations And Customizations
Making bran-bars at home can be fun and rewarding, especially when experimenting with different variations and customizations of the recipe. One great way to do this is by playing around with the ingredients, such as swapping out different nuts or dried fruit types to create a unique flavor profile.
Depending on your taste preferences, You can adjust the sweetness level by adding more or less honey or maple syrup. Another fun way to customize your bran-bars is by experimenting with different shapes and sizes, such as cutting them into squares, triangles, or cookie shapes. The possibilities are endless, and the best part is that you control exactly what goes into your homemade snacks.
Storage And Shelf Life
It’s important to consider their storage and shelf life when it comes to homemade snacks. This is especially true for Bran-Bars, a healthy and nutritious snack that can be made at home. The process of making Bran-Bars recipe at home is actually quite simple. You only need bran flakes, honey, peanut butter, and other ingredients.
Once you’ve combined these ingredients and shaped them into bars, you’ll want to store them in an airtight container. This will help to keep them fresh for longer. Regarding shelf life, Bran-Bars can last up to a week when stored properly. However, if you want to extend their shelf life further, you can freeze them. Simply wrap each bar in plastic wrap and store them in the freezer for up to a month.
Nutritional Benefits Of Bran Bars

Bran-bars are a healthy and nutritious snack packed with essential nutrients and provide numerous health benefits. They are an excellent fibre source, which helps keep the digestive system healthy and promotes regularity. Bran-bars are also rich in antioxidants, vitamins, and minerals such as iron, calcium, and magnesium.
These nutrients help to boost the immune system, improve bone health, and reduce the risk of chronic diseases such as diabetes, heart disease, and cancer. Making bran-bars at home is a simple and easy process.
The recipe combines bran flakes, oats, honey, nuts, and dried fruits. These ingredients are mixed together and baked in the oven until golden brown. The result is a delicious and healthy snack that can be enjoyed anytime, anywhere.
The Cons Of Bran Bars
Bran-bars are often marketed as a healthy snack option, but some cons should be considered before adding them to your diet. One of the main drawbacks is that many store-bought bran-bars contain high amounts of added sugars and artificial ingredients.
These can negate any potential health benefits of the brand itself. Additionally, some people may experience digestive discomfort after consuming bran-bars due to their high fibre content. Reading the ingredient list and nutrition label carefully before purchasing bran bars to ensure they align with your dietary needs and preferences is essential.
Making bran bars at home can be a great option if you want to incorporate bran into your diet. The process of making bran-bars at home is relatively simple and allows you to control the ingredients and nutritional content of the bars.
Conclusion:
Making Bran Bars at home is a simple and rewarding process. These wholesome and nutritious bars are packed with fibre, vitamins, and minerals, making them an excellent option for a healthy snack. Following the step-by-step process outlined in this article, you can create delicious variations of Bran-Bars, catering to your taste preferences and dietary requirements.
So, roll up your sleeves, gather the ingredients, and embark on the journey of making Bran-Bars that will not only tantalize your taste buds but also nourish your body with goodness. Enjoy the process and savor the delightful rewards of your homemade Bran-Bars!
FAQs
1.What Are Bran Bars?
Ans: Bran-bars are energy bars made with oat bran and other nutritious ingredients like nuts, dried fruits, and seeds. They are a healthy and delicious snack option. Bran-bars are packed with fibre, which helps to keep you full for longer and aids in digestion.
2.Can I Use A Different Type Of Flour Instead Of Whole Wheat Flour?
Ans: If you have dietary preferences or restrictions, you can experiment with different flours, like almond or gluten-free flour. Another option is to add in some nuts or dried fruits for extra flavour and nutrition.
3.Is There A Vegan Version Of Bran Bars?
Ans: Yes, you can make a vegan version by substituting honey with maple syrup and using melted coconut oil instead of butter. Moreover, you can customize your bran-bars by adding your favorite nuts, seeds, dried fruits, and spices to the recipe.
4.How Do I Know When The Bran Bars Are Fully Baked?
Ans: The Bran-Bars are ready when they turn golden brown and feel firm to the touch. The baking time is typically around 20-25 minutes. Once the Bran-Bars are pulled out of the oven, it’s essential to let them cool for a few minutes before slicing them into serving sizes.
5.Can I Customize The Ingredients In Bran Bars?
Ans: Absolutely! You can add or substitute ingredients to create your preferred flavor combinations. Try different nuts, fruits, and seeds to make it unique. You can also experiment with different sweeteners to adjust the level of sweetness in your bran-bars. Honey, maple syrup, and agave nectar are all great options.