
Here we will take you through a step-by-step process to make these delectable treats. But that’s not all! We will also delve into the science behind baking pans and how they can affect the texture and appearance of your cookies.
From understanding the differences between shiny metal and nonstick pans to exploring their pros and cons, we’ve got you covered. So get ready to whip up some mouthwatering cookies and discover which pan is your perfect baking companion. We’ll also discuss Hershey chocolate chip cookie.

Step-By-Step Process To Make Hershey Chocolate Chip Cookie
Making Hershey Chocolate Chip Cookies is a delicious and satisfying process. To begin, gather all the necessary ingredients: butter, granulated sugar, brown sugar, vanilla extract, eggs, all-purpose flour, baking soda, salt, and Hershey’s chocolate chips. Preheat the oven to 375°F (190°C) and line a baking sheet with parchment paper.
In a large bowl, cream the butter, granulated sugar, and brown sugar until light and fluffy. Add the vanilla extract and eggs one at a time, mixing well after each addition. Whisk together the flour, baking soda, and salt in a separate bowl. Gradually add the dry ingredients to the wet ingredients until just combined.
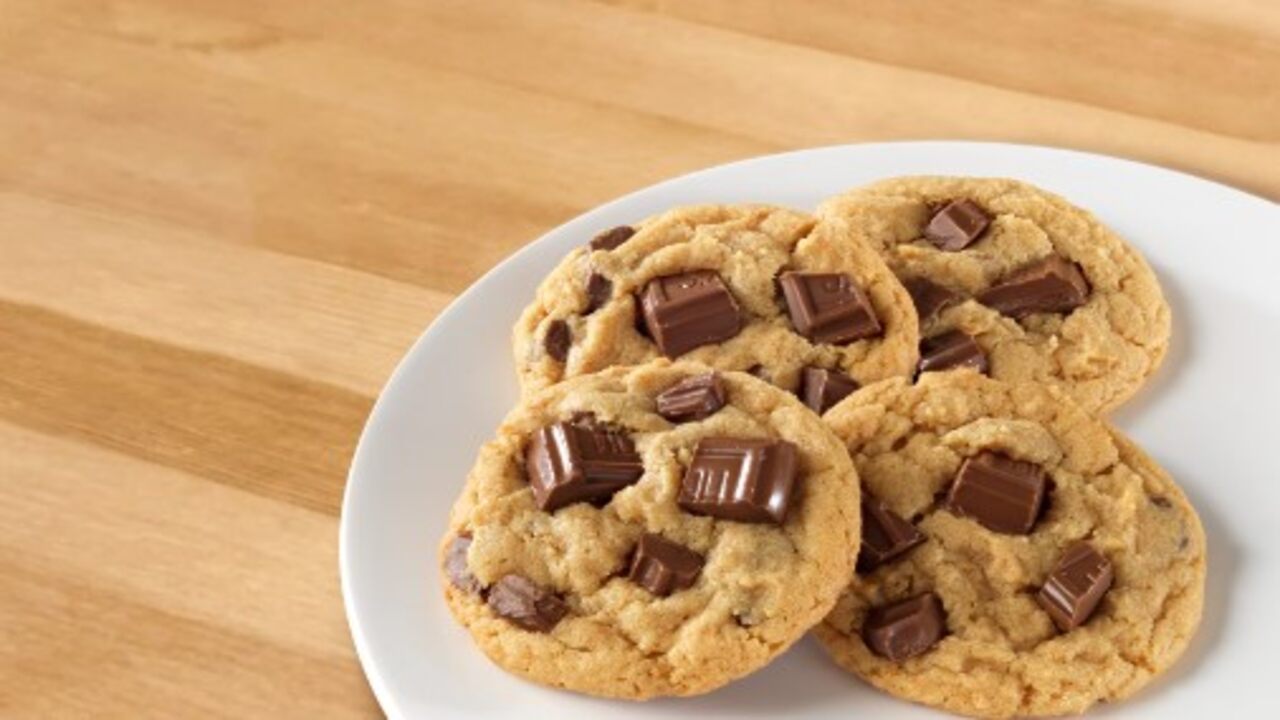
Fold in the Hershey chocolate chips. Scoop rounded tablespoons of dough onto the prepared baking sheet and bake for 9-11 minutes or until golden brown around the edges. Allow the cookies to cool on the baking sheet for a few minutes before transferring them to a wire rack to cool completely. Enjoy these delectable Hershey Chocolate Chip Cookies with a tall glass of milk!
Understanding The Differences Between Shiny Metal Pans And Nonstick Pans
When baking cookies, the choice of pan material can greatly influence the outcome. Shiny metal pans are ideal for achieving a golden brown colour and crispy cookie edges. The reflective surface of these pans promotes even heat distribution, resulting in a more uniform bake. However, shiny metal pans may require greasing or lining with parchment paper to prevent the cookies from sticking.
On the other hand, nonstick pans offer the advantage of easy release, making it a breeze to remove cookies without any sticking or breaking. These pans have a special coating that prevents food from adhering to the surface, eliminating the need for extra grease or parchment paper. Nonstick pans are particularly useful when working with delicate or intricate cookie designs.
Choosing shiny metal and nonstick pans ultimately depends on personal preference and desired cookie texture. Opt for shiny metal pans if you prefer a slightly crispier texture with well-defined edges. If convenience and effortless release are your priorities, nonstick pans are the way to go. Whichever pan you choose, remember to follow the recipe instructions for temperature and baking time to achieve perfectly baked cookies every time.
Pros And Cons Of Using Shiny Metal Pans For Baking Cookies

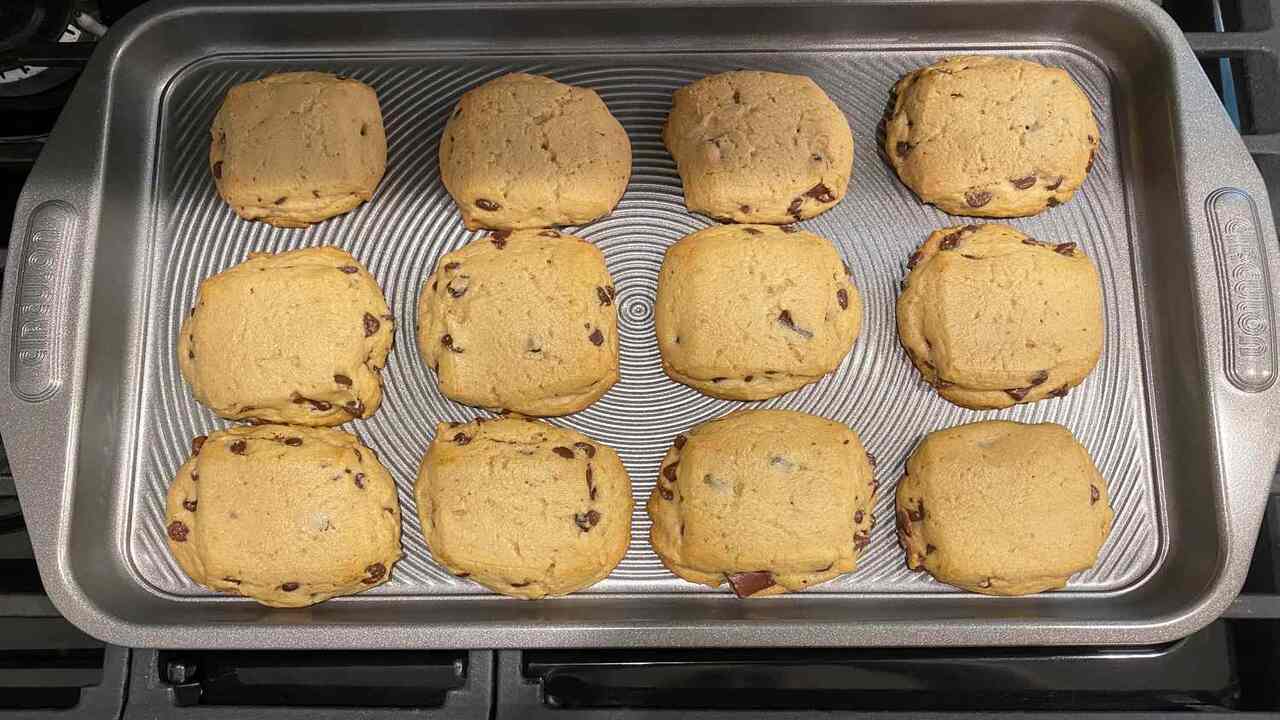
Shiny metal pans are a popular choice for baking cookies because they provide even heat distribution, resulting in perfectly baked treats. However, it’s important to note that these pans may produce lighter-coloured and softer-textured cookies than other pans, as the reflective surface can affect the browning process.
Additionally, cookies baked in shiny metal pans tend to spread more during baking. To prevent over-browning, adjusting the baking time may be necessary. Despite these drawbacks, shiny metal pans are still favoured by many for their durability and efficient heat conductivity, making them a reliable option for baking delicious homemade cookies.
Pros And Cons Of Using Nonstick Pans For Baking Cookies
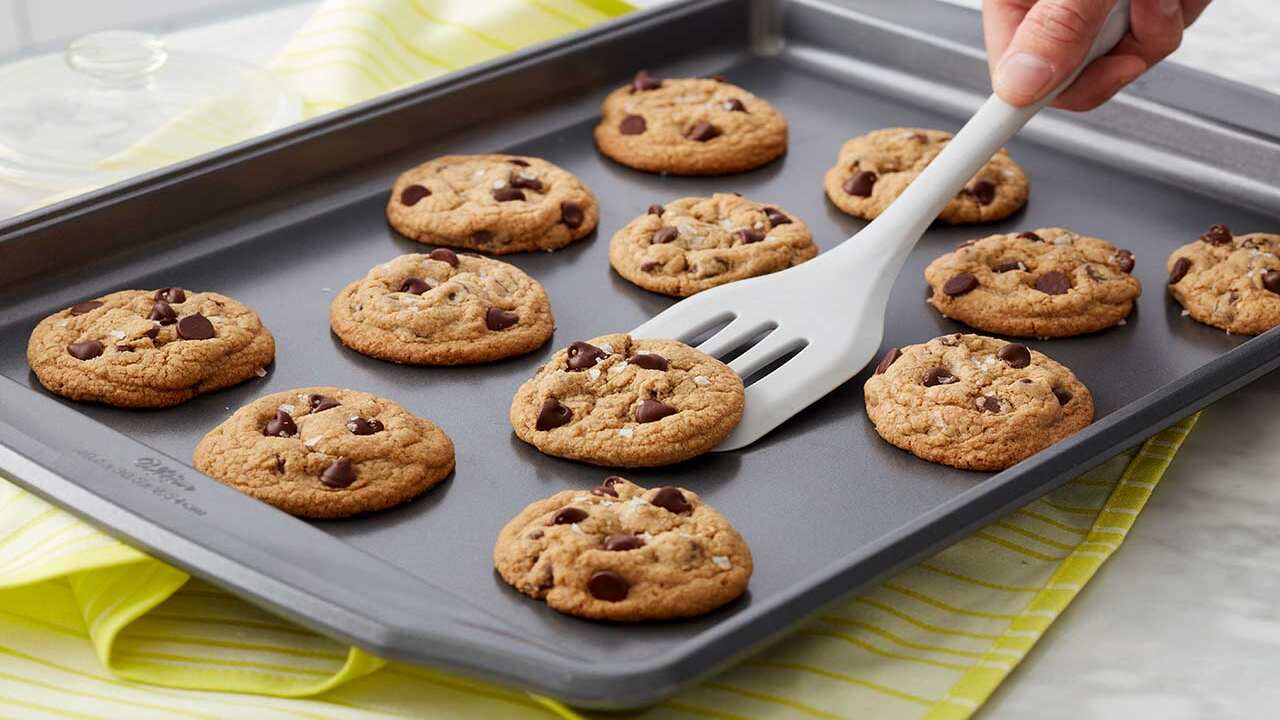
Nonstick pans are a popular choice for baking cookies due to their convenience in terms of easy cookie removal. However, it is important to note that nonstick pans may require shorter cooking times than other pans. Some individuals also prefer the softer texture of cookies baked on nonstick pans.
To ensure the longevity of the nonstick surface, it is recommended to use silicone or wooden utensils when handling the pans and opt for high-quality pans. It is worth mentioning that cookies baked in nonstick pans may not brown as much, resulting in a lighter colour.
How The Type Of Pan Can Affect The Texture And Appearance Of Your Cookies
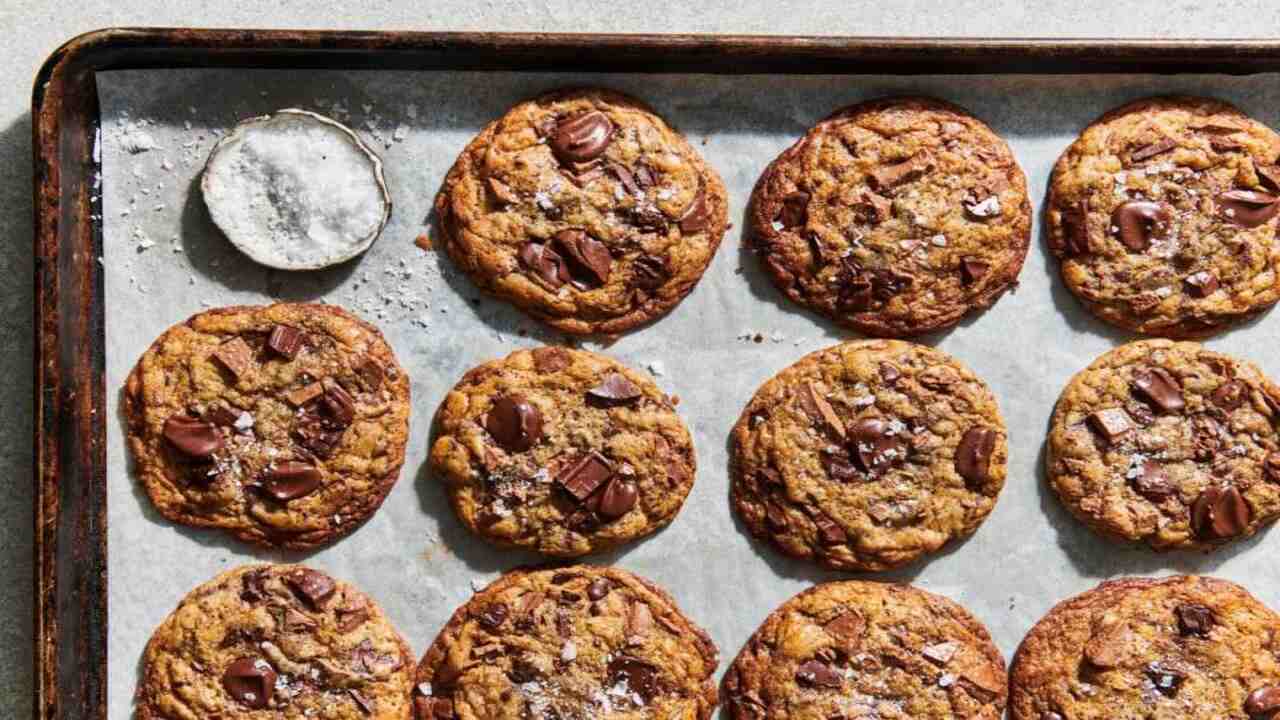
The choice of pan you use can greatly influence the texture and appearance of your cookies. Light-coloured pans tend to produce evenly baked cookies with a soft texture, while dark-coloured pans may cause cookies to brown too quickly and have a crisper texture.
Non-stick pans are convenient for easily removing cookies without sticking, but they may contribute to spreader cookies. On the other hand, insulated pans can result in less crispy cookies on the edges and have an overall softer texture. To achieve your desired cookie outcome, it is worth experimenting with different types of pans to find the perfect fit for your baking needs.
Tips For Using Shiny Metal Pans Effectively
When it comes to using shiny metal pans for baking, there are a few important tips to remember. Firstly, these pans ensure even baking and prevent excessive browning. To avoid sticking, it’s recommended to either grease the pan or use parchment paper.
Additionally, slightly adjust the baking time to achieve more accurate results. It’s worth noting that shiny metal pans tend to cool down quickly, so it’s important to remove your cookies promptly to prevent overbaking.
Lastly, it’s best to avoid using sharp utensils on these pans as they can cause scratching and damage to the surface. By following these guidelines, you can make the most of your shiny metal pans and achieve delicious baked goods every time!
How To Properly Grease A Shiny Metal Pan For Easy Cookie Removal
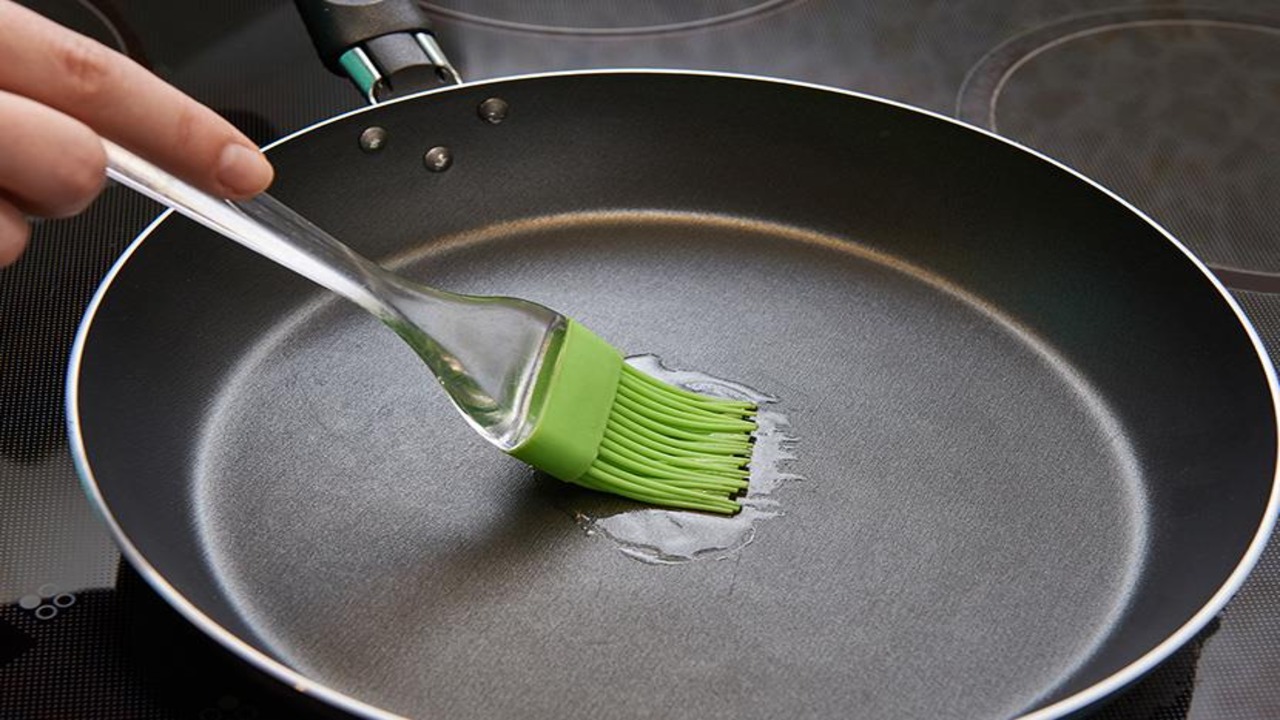
For easy removal of cookies, it is recommended to grease the shiny metal pan with either butter or cooking spray. To ensure even distribution of the grease, you can use a pastry brush or a paper towel. Make sure to reach all the corners and edges of the pan to prevent the cookies from sticking.
It is important to avoid using excessive grease as it can cause the cookies to spread too thin. Lastly, remember to grease the pan before preheating the oven for better coating and easier removal of the cookies after baking.
How To Properly Prepare A Nonstick Pan For Baking Cookies
To prevent your cookies from sticking to a nonstick pan, there are a few steps you can follow. First, grease the pan with cooking spray or a thin layer of butter before placing the cookie dough on it. This will create a barrier between the dough and the pan’s surface.
Secondly, avoid using metal utensils that can scratch the nonstick coating, as this can cause the cookies to stick. Instead, use silicone or wooden spatulas that are gentle on the pan. Additionally, preheat the oven to the specified temperature before baking the cookies, ensuring even heat distribution.
After baking, allow the cookies to cool slightly on the pan before transferring them to a wire rack to cool completely. Finally, clean the nonstick pan with a sponge or soft cloth to remove any residue and maintain its nonstick properties for future use.
Factors To Consider When Choosing Between Shiny Metal Pans And Nonstick Pans For Your Cookie Recipe
When choosing between shiny metal and nonstick pans for your cookie recipe, there are several factors to consider. Shiny metal pans provide even heat distribution but may require greasing to prevent sticking.
On the other hand, nonstick pans offer an easy release of cookies but can be prone to scratching and wear over time. Additionally, shiny metal pans produce slightly crisp edges and bottoms, while nonstick pans provide a softer texture with less browning on the edges. When deciding, consider personal preference, desired texture, and convenience.
Experimenting With Both Types Of Pans To Find Your Preferred Method
It’s worth experimenting with different pan materials when baking cookies to achieve the desired texture and browning. A metal pan can result in cookies with crispy edges and a chewy centre, while a silicone baking mat on a sheet pan can prevent cookies from sticking. Always preheat your oven and follow the recipe instructions carefully to ensure success. By paying attention to these details, you can bake perfect cookies every time.
Conclusion
Whether you prefer using shiny metal or nonstick pans for baking cookies, there are pros and cons. Shiny metal pans conduct heat more efficiently, resulting in cookies with a crispy exterior and chewy centre. On the other hand, nonstick pans offer easy release and require less grease, resulting in cookies with a softer texture.
Ultimately, the choice between the two depends on your preference and desired cookie texture. Experimenting with both types of pans can help you find your preferred method. So, grab your ingredients, preheat your oven, and prepare to bake some delicious Hershey Chocolate Chip Cookie.
Frequently Asked Questions
1.Which Chocolate Chips Melt Best In Cookies?
Ans: Different types of chocolate chips offer different results when it comes to melting in cookies. Semi-sweet chocolate chips are popular, melting well and providing a balanced sweetness. For a sweeter flavour and smooth melt, try using milk chocolate chips. Dark chocolate chips can add a rich and intense flavour when melted. Experiment with these options to find your preferred level of sweetness and meltiness.
2.What’s In Hershey’s Chocolate Chip Cookies?
Ans: Hershey’s Chocolate Chip Cookies are made with classic ingredients like flour, butter, sugar, and eggs. The recipe also includes Hershey’s Semi-Sweet Chocolate Chips for a rich chocolatey taste. Baking soda, vanilla extract, and salt are added to enhance the flavour and texture. You can also add nuts or other mix-ins based on your preference.
3.Why Do Chocolate Chip Cookies Taste Different?
Ans: Chocolate chip cookies can have different tastes due to variations in ingredients. The type of chocolate used, such as milk, dark, or white chocolate, can impact the flavour. The type and quality of butter and sugar used can also affect the taste. The baking time and temperature can produce a chewy or crispy texture, altering the overall taste.
4.Why Are My Chocolate Chip Cookies Hard And Not Chewy?
Ans: Possible output: Achieving the perfect chewy texture is essential for chocolate chip cookies. Overmixing the dough can result in a harder cookie, while too much flour can make them dry and tough. Insufficient butter or fats can also affect their chewiness. Also, baking them too long or at high temperatures can cause hardness.
5.How Many Calories Are In A Hershey’s Chocolate Chip Cookie?
Ans: The calorie content of a Hershey chocolate chip cookie varies based on size and ingredients. On average, a standard-sized cookie may have around 150-200 calories. Additional add-ins like nuts or extra chocolate chips can increase the count. Always check the package or recipe for accurate information.