
Stew bubbles are a common sight in kitchens around the world. Whether you’re making a hearty beef stew or a vegetarian lentil stew, those little bubbles that rise to the surface are a sign that your dish is cooking just right.
But have you ever wondered what causes those bubbles to form and what they can tell you about your stew? We’ll explore the science behind the bubbles and what they can reveal about the flavours and textures of your dish.
From the initial simmer to the final reduction, the presence of the bubbles can be an important indicator of the cooking process. So the next time you’re standing over a pot of simmering stew, take a moment to appreciate those little bubbles and what they’re telling you about the delicious meal to come.

Different Types Of Stew Bubble
the type of bubbles can also depend on the specific ingredients and cooking method used in the stew. Understanding what the bubbles convey can help you adjust the heat and ensure your stew turns out perfectly cooked and delicious. Like many other dishes, Stews can come in various forms, and the appearance of bubbles can offer some insights into the cooking process. Here are some different types of stew bubbles you might encounter:
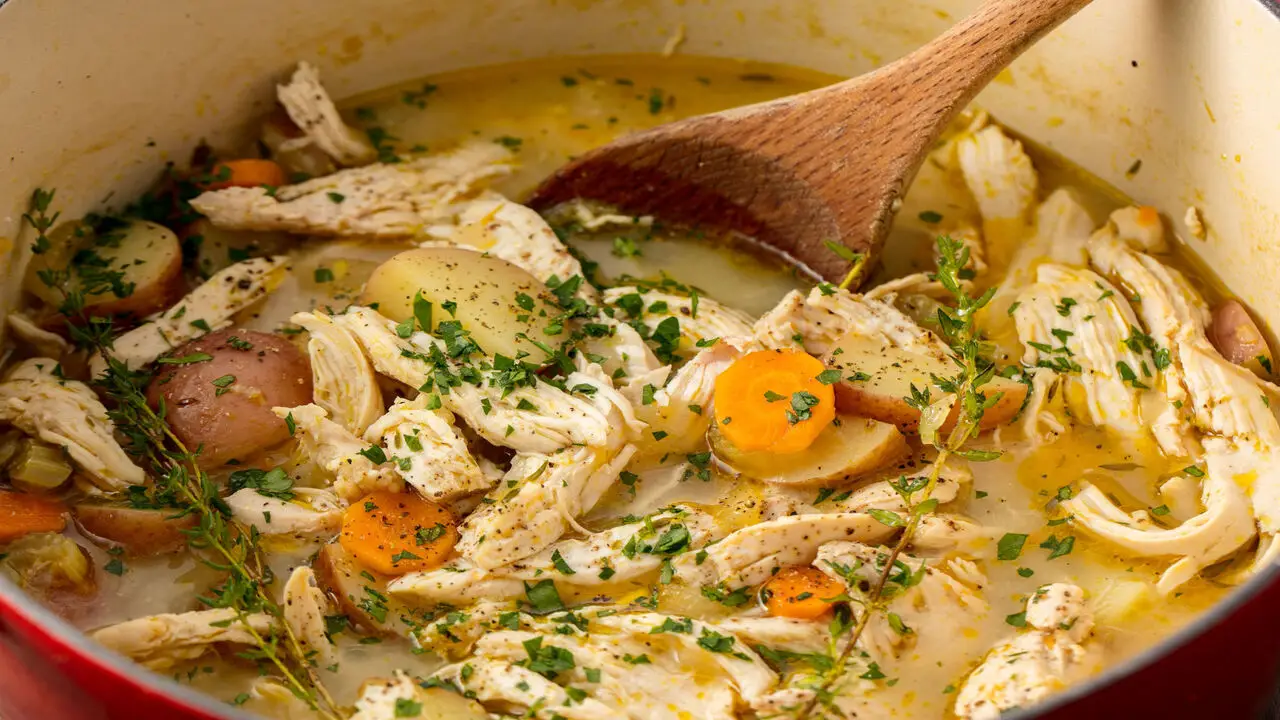
- Gentle Simmer: A well-prepared stew often has small, gentle bubbles rising to the surface. This indicates that the stew is simmering at a consistent, moderate temperature. Simmering allows the flavours to meld together and the ingredients to cook evenly.
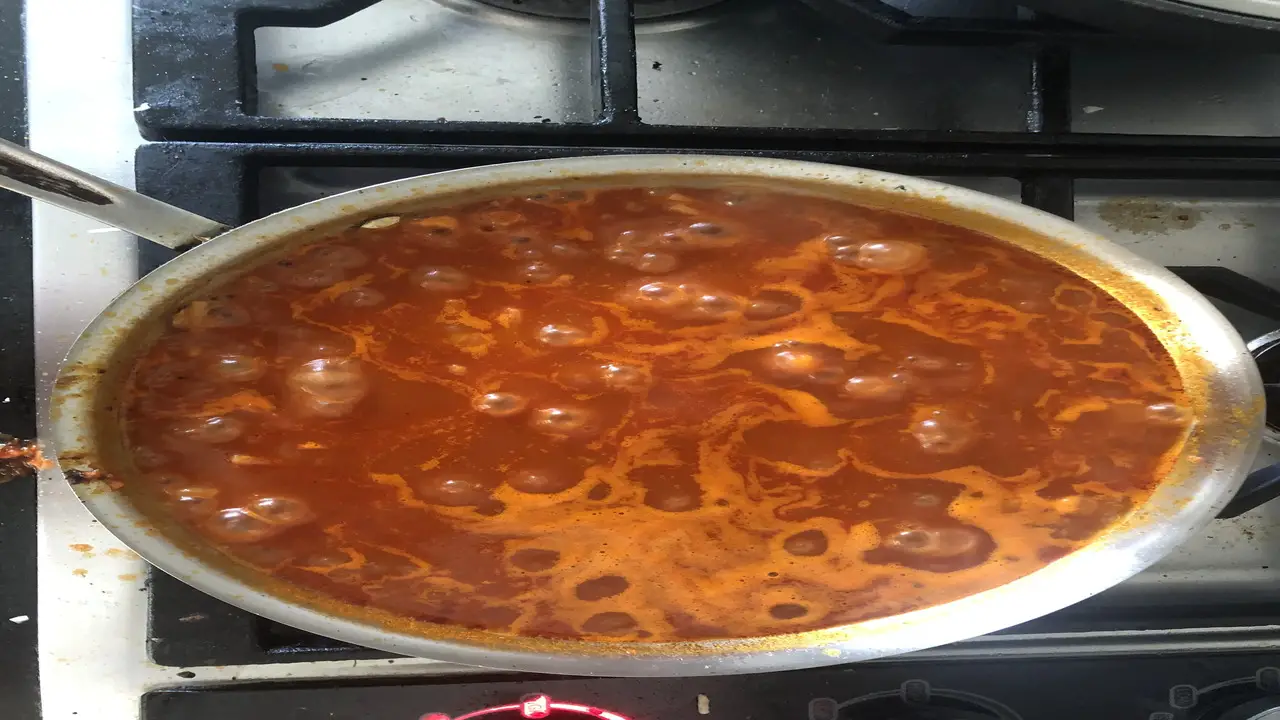
- Rolling Boil: Occasionally, stews may exhibit larger, more vigorous bubbles that rise rapidly to the surface. This suggests that the stew is boiling, so the heat is too high. In such cases, lowering the heat to a simmer is advisable to prevent overcooking or burning the ingredients.
- Uniform Bubbling: Ideally, you want to see bubbles uniformly dispersed throughout the stew. This indicates that the heat distribution is even, ensuring that all the ingredients are cooked thoroughly.
- Consistent Bubbles: Bubbles should form consistently and steadily. If the heat source fluctuates or someone accidentally turns it off, it could cause the bubbles to become sporadic or stop altogether.
- Foamy Layer: Some stews, especially those containing fatty meats, might develop a foamy layer on the surface. You can skim off this if desired, although it doesn’t affect the stew’s flavour and is a normal occurrence.
How Do Stew Bubbles Form?
These bubbles form by heating the liquid to its boiling point. When the stew is placed on heat, the liquid inside absorbs energy, causing its molecules to gain kinetic energy and move more rapidly. As the temperature rises, small steam pockets start forming within the liquid.
These pockets are less dense than the surrounding liquid, causing them to rise to the surface. When the steam reaches the surface, it escapes into the air, creating bubbles. These bubbles rise and burst, releasing steam and allowing new bubbles to take their place, resulting in a simmering motion characteristic of a well-prepared stew. Here is explained how stew bubbles form.
Heating The Liquid To Boiling Point
One of the key steps in stew-making is heating the liquid to its boiling point. The process involves gradually increasing the temperature of the stew until the liquid reaches a state where bubbles vigorously rise and break the surface.
This transformation occurs when the liquid absorbs enough heat, causing its molecules to gain energy and move more rapidly. Water molecules start forming vapour bubbles throughout the mixture when the liquid reaches boiling. Steam release contributes to the flavoursome infusion of the ingredients, ultimately resulting in a delicious and aromatic stew.
Adding Ingredients To The Stew
Adding ingredients to the stew is pivotal in creating a delightful culinary experience. After the liquid has been heated to a boil, various ingredients, such as meat, vegetables, herbs, and spices, are incorporated. Each ingredient contributes unique flavours and textures to the stew.
The combination of elements also influences the overall richness and complexity of the dish. The ingredients are carefully selected and added in a specific sequence to complement each other perfectly. As the stew simmers, the flavours meld together, creating a harmonious and satisfying taste.
Stirring The Stew To Distribute Heat
Stirring the stew is essential to ensure the even distribution of heat and flavours. As the stew simmers, different parts of the liquid may experience variations in temperature. Heat is evenly distributed by gently stirring the stew, preventing hotspots or uneven cooking.
Moreover, stirring helps blend the ingredients together, allowing their flavours to meld harmoniously. However, excessive stirring should be avoided, as it may cause ingredients to break down or become mushy. A delicate and mindful stirring approach ensures the stew is cooked to perfection.
Lowering The Heat To A Simmer
After the stew has reached its boiling point and the ingredients add, lowering the heat to a simmer is essential. Simmering involves maintaining the liquid just below its boiling point, typically around 185°F to 205°F (85°C to 96°C). This gentle cooking technique allows the flavours to develop gradually, resulting in a more tender and flavorful stew. Simmering also prevents the stew from becoming overcooked or boiling over, providing a controlled and steady cooking process.
Watching For The First Signs Of Bubbles
In the early stages of stew-making, watching for the first signs of bubbles is crucial. As the liquid heats up, small bubbles may start forming at the bottom of the pot. These initial bubbles indicate that the water is approaching its boiling point. Observing this stage helps determine when to add the ingredients and lower the heat to a simmer. Being attentive at this stage sets the foundation for a well-prepared stew.
Monitoring And Adjusting The Heat As Needed
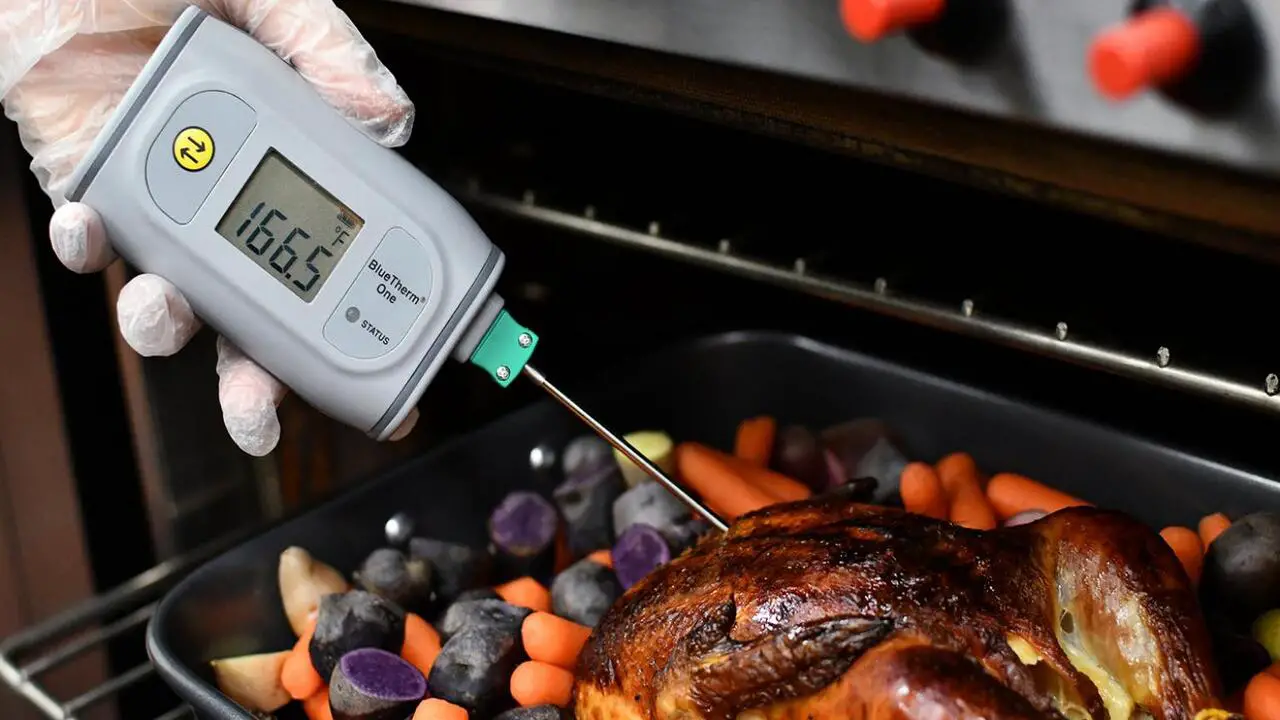
Throughout the stew-making process, monitoring and adjusting the heat as needed is vital. Controlling the temperature allows for precise cooking and prevents the stew from boiling or scorching. If the stew cooks too rapidly, reducing the heat will maintain a gentle simmer.
On the other hand, if the simmer is too mild, increasing the heat slightly can ensure the ingredients cook thoroughly. Regularly assessing the heat and making necessary adjustments guarantees a delectable and evenly cooked stew.
Common Misconceptions About Stew Bubble
One common misconception about stew bubbles is that more bubbles mean the stew is ready. While bubbles are essential to the cooking process, they alone do not indicate the stew’s doneness or readiness to serve. The bubbles merely indicate that the liquid is at or near its boiling point.
The true test of readiness lies in the tenderness of the ingredients and the melding of flavours. Some mistakenly believe that boiling a stew vigorously will speed up the cooking time. However, a gentle simmer is often more effective in creating a delicious, well-developed stew.
Differentiating Boiling And Simmering In Stew Making
A crucial aspect of stew-making is understanding the difference between boiling and simmering. Boiling occurs when the liquid reaches its boiling point, around 212°F (100°C), and produces large, rolling bubbles. Boiling is ideal for initial heating and quick cooking but can be too harsh for a stew’s delicate ingredients.
On the other hand, simmering occurs just below the boiling point, with small, gentle bubbles rising to the surface. Simmering allows for a slower, more controlled cooking process, enabling the flavours to meld together beautifully while keeping the ingredients tender.
Conclusion
The presence of stew bubbles is a clear indication of a successful dish. The consistent bubbling of the stew signifies that the ingredients have been cooked to perfection, allowing the flavours to develop and meld together fully. The bubbling action also ensures that the stew is heated evenly, preventing undercooked or overcooked portions.
The specific size and frequency of the bubbles may also provide insight into the quality of the ingredients used and the temperature of the cooking environment. The presence of bubbles is a positive sign for any chef or home cook, indicating a successful and delicious dish. So, the next time you prepare a stew, watch for those satisfying bubbles and enjoy the delicious results.
FAQ’s:
1.Can I Make Stew In A Slow Cooker?
Ans: Yes, absolutely! Slow cookers are perfect for making stews. Just combine all the ingredients in the slow cooker, set it to low or high heat, depending on your schedule, and let it cook for the desired time until the stew is ready.
2.How Can I Thicken My Stew?
Ans: To thicken a stew, you can use a combination of methods. Mix flour or cornstarch with water to create a slurry, then stir it into the stew. Alternatively, add mashed potatoes or pureed vegetables to achieve a thicker consistency.
3.Can I Freeze Stew For Later Consumption?
Ans: Yes, the stew is perfect for freezing. Allow the stew to cool to room temperature, then transfer it to airtight containers or freezer bags. Label and date the containers before storing them in the freezer for up to 3 months.
4.What’s The Best Meat For Stew?
Ans: Tougher cuts of meat with connective tissue, such as chuck roast, beef stew meat, or lamb shoulder, are excellent choices for stew. The slow cooking breaks down the collagen, resulting in tender and flavorful meat.
5.Can I Make A Vegetarian Stew?
Ans: Absolutely! Vegetarian stews are delicious and nutritious. Replace meat with various vegetables, legumes like chickpeas or lentils, and add vegetable broth or tomato-based liquids for a hearty and satisfying vegetarian option.