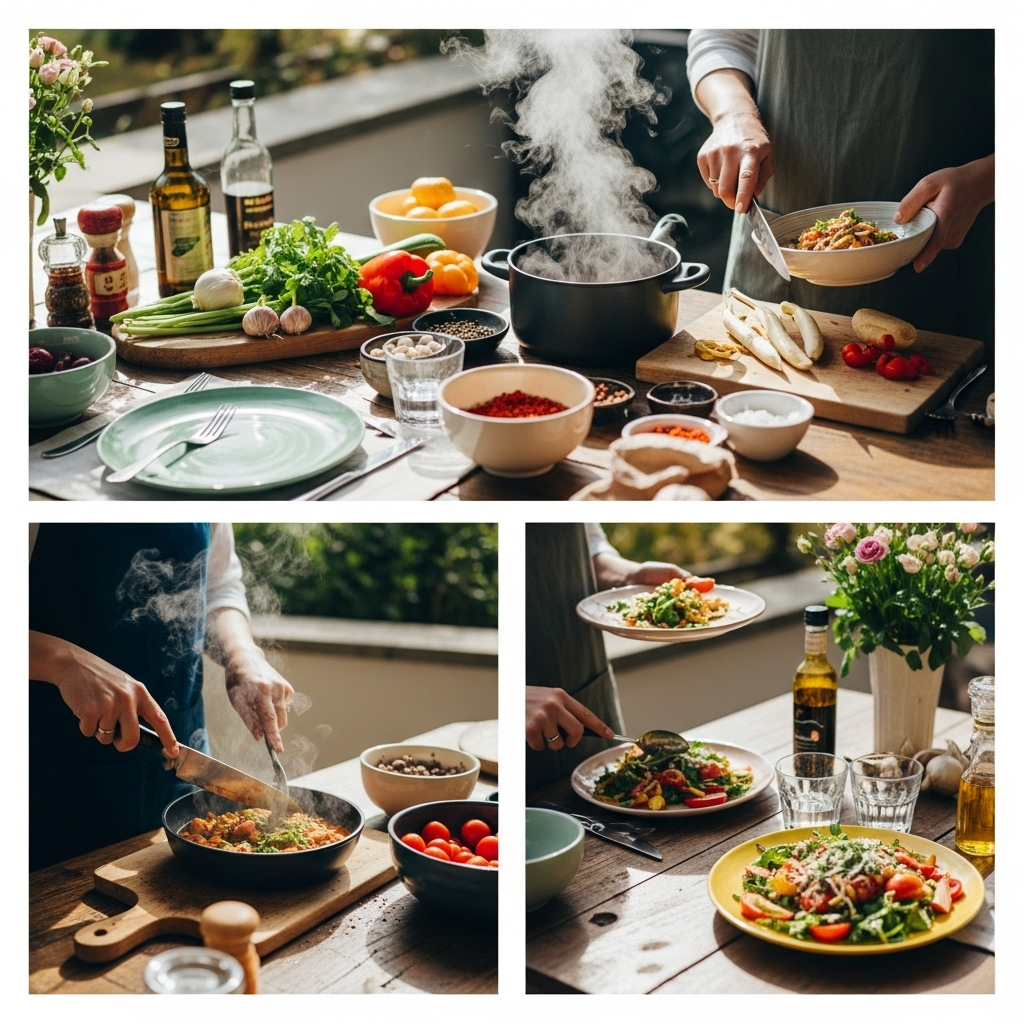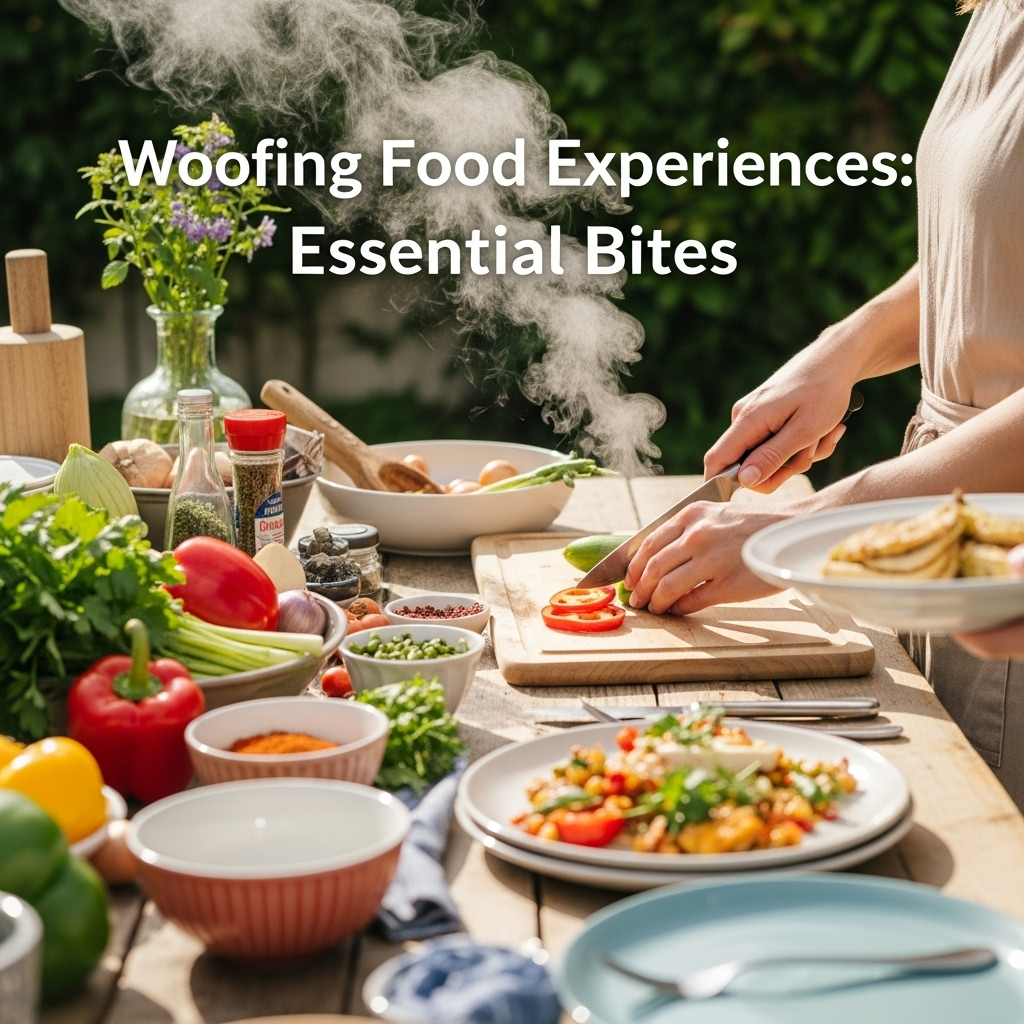
Woofing food experiences are all about embracing delicious and easy-to-make meals that are perfect for any home cook. This guide breaks down essential ‘bites’ into simple steps, perfect for busy individuals, families, and anyone looking for fun, flavorful culinary adventures. Discover quick tips, easy recipes, and budget-friendly ideas to elevate your everyday cooking.
The kitchen can sometimes feel like a puzzle, right? Especially when you’re short on time but still want something wonderfully tasty to eat. You want meals that are satisfying, maybe a little exciting, but definitely not complicated. If you’ve ever stared into the fridge wondering “What can I possibly make with this?” or felt overwhelmed by fancy recipes, you’re not alone! We’re here to turn those moments into fun discoveries. Get ready to explore some “woofing” good food experiences – easy, delightful bites that will make you feel like a kitchen superstar, no matter your skill level. Let’s get cooking!
What Are “Woofing Food Experiences”?
The term “woofing food experiences” is a playful way to describe meals that are incredibly satisfying and enjoyable, often characterized by their hearty, comforting, and universally appealing flavors. Think of those dishes that make you let out a happy sigh – the ones that are easy to prepare but deliver big on taste. These aren’t necessarily gourmet creations; they are the delicious staples that form the foundation of enjoyable home cooking. They’re about comfort, flavor, and the sheer joy of a well-made bite.
The Essence of “Woofing”
At its core, a “woofing” food experience is about:
- Uncomplicated Deliciousness: Recipes that are straightforward, with readily available ingredients, that taste amazing.
- Hearty and Satisfying: Dishes that fill you up and leave you feeling content.
- Flavor-Forward: Emphasis on great taste without requiring advanced culinary techniques.
- Approachable & Fun: Cooking that feels like an adventure, not a chore.
- Shareable Moments: Meals that are perfect for enjoying with family and friends.
Essential Bites for the Everyday Kitchen

Let’s dive into some foundational “bites” that are simple, versatile, and highly adaptable. These are the building blocks of a great meal and can be whipped up with minimal fuss.
1. The Perfect Scrambled Eggs (Beyond Breakfast)
Eggs are a kitchen marvel! They’re quick, nutritious, and unbelievably versatile. While we often think of them for breakfast, perfectly scrambled eggs can be the star of a quick lunch, a light dinner, or even a sneaky midnight snack.
Why They’re “Woofing” Worthy:
- Speed: Ready in minutes.
- Simplicity: Minimal ingredients and steps.
- Customization: Can be enhanced with cheese, herbs, veggies, or even a bit of chili.
- Budget-Friendly: Eggs are one of the most affordable protein sources.
How to Make Them Perfect:
1. Gather Your Ingredients:
2-3 large eggs per person
1 tablespoon milk or water (optional, for creaminess)
Salt and freshly ground black pepper to taste
1 teaspoon butter or oil for the pan
2. Whisk Away: Crack eggs into a bowl. Add milk or water (if using), salt, and pepper. Whisk gently but thoroughly until the yolks and whites are just combined – don’t over-whisk. You want streaks of yellow and white to remain for a tender result.
3. Heat the Pan: Melt butter or heat oil in a non-stick skillet over medium-low heat. Low and slow is key for tender eggs!
4. Cook Gently: Pour the egg mixture into the warmed pan. Let them sit for about 20-30 seconds without stirring, allowing the edges to just begin to set.
5. The Scramble: Using a spatula, gently push the cooked egg from the edges towards the center, allowing the uncooked egg to flow underneath. Continue this gentle pushing and folding motion.
6. Don’t Overcook! The moment the eggs are mostly set but still have a slight sheen and are a little moist, remove them from the heat. They will continue to cook from residual heat. Serve immediately.
Pro-Tip:
For extra creamy eggs, stir in a tablespoon of cream cheese or a dollop of sour cream right at the end of cooking.
2. Speedy Grilled Cheese Sandwich
A classic for a reason! The comfort of melted cheese between perfectly toasted bread is undeniable. It’s a lunchtime hero and a simple dinner staple.
Why It’s “Woofing” Worthy:
- Instant Gratification: A warm, cheesy sandwich in under 10 minutes.
- Minimal Effort: Requires very little culinary skill.
- Customizable: So many bread and cheese combinations!
How to Master the Melt:
1. Bread Choice: Sourdough, challah, or a good hearty white bread work wonderfully.
2. Cheese Power: A blend of cheddar and Gruyere offers great flavor and meltability. Monterey Jack, fontina, or provolone are also excellent choices.
3. Butter Up: Generously butter one side of each slice of bread. This is crucial for that golden, crispy exterior.
4. Assemble: Place one slice of bread, butter-side down, in a non-stick skillet over medium-low heat. Layer your cheese(s) and top with the second slice of bread, butter-side up.
5. Grill to Perfection: Cook for 3-5 minutes per side, or until the bread is golden brown and the cheese is gloriously gooey and melted. Press down gently with your spatula occasionally.
Variations to Try:
Add a thin layer of fig jam or a few slices of apple for a sweet and savory twist.
Incorporate a thin slice of ham, turkey, or even caramelized onions.
* For a little kick, add a pinch of red pepper flakes to the cheese.
3. Flavor-Packed Pasta Aglio e Olio
This Italian classic, meaning “garlic and oil,” is a testament to how a few simple ingredients can create something truly magical. It’s quick, light, and bursting with flavor.
Why It’s “Woofing” Worthy:
- Under 15 Minutes: From pantry to plate in remarkably little time.
- Pantry Staples: Uses items you likely already have.
- Elegant Simplicity: Feels sophisticated yet is incredibly easy to make.
The Simple Steps:
1. Cook Pasta: Bring a large pot of salted water to a rolling boil. Add about 8 ounces of spaghetti or linguine and cook according to package directions until al dente. Reserve about 1 cup of the starchy pasta water before draining.
2. Infuse the Oil: While the pasta cooks, heat 1/4 cup of good quality olive oil in a large skillet over medium-low heat. Add 4-6 cloves of thinly sliced garlic. Cook gently, stirring occasionally, until the garlic is fragrant and just beginning to turn golden. Be very careful not to burn the garlic, as it will become bitter.
3. Add Heat (Optional): At this stage, you can add 1/4 to 1/2 teaspoon of red pepper flakes to the oil for a touch of heat.
4. Combine: Add the drained pasta directly to the skillet with the garlic and oil. Toss well to coat the pasta evenly.
5. Emulsify: Add about 1/4 cup of the reserved pasta water to the skillet. Toss vigorously. The starch in the water, combined with the oil, will create a light, glossy sauce that coats the pasta. Add more pasta water, a tablespoon at a time, if needed to reach the desired consistency.
6. Finish: Stir in a generous handful of fresh chopped parsley. Season with salt and freshly ground black pepper to taste.
7. Serve: Serve immediately, perhaps with a sprinkle of grated Parmesan cheese if desired.
Quick and Hearty Meal Ideas
Beyond the basics, let’s explore some dishes that offer a little more substance but still fit the “woofing” bill for speed and ease.
1. Sheet Pan Dinners: Minimal Cleanup, Maximum Flavor
Sheet pan meals are a revelation for busy cooks. Everything cooks together on one pan, meaning fewer dishes and a hands-off approach to cooking.
The Anatomy of a Great Sheet Pan Dinner:
- Protein: Chicken pieces (thighs or breasts), sausage, salmon, shrimp, or even firm tofu.
- Vegetables: Root vegetables (potatoes, sweet potatoes, carrots) that take longer to cook, paired with quicker-cooking veggies like broccoli, bell peppers, onions, asparagus, or cherry tomatoes. Group vegetables by cooking time.
- Flavor Boosters: Olive oil, your favorite herbs and spices (paprika, garlic powder, Italian seasoning, chili powder), lemon wedges, or a drizzle of balsamic glaze.
Example: Lemon Herb Chicken & Veggies
This is a fantastic starting point.
| Component | Details | Preparation |
|---|---|---|
| Protein | 1.5 lbs boneless, skinless chicken thighs (cut into bite-sized pieces) | Toss with 2 tbsp olive oil, 1 tsp dried oregano, 1 tsp dried thyme, 1/2 tsp garlic powder, salt, and pepper. |
| Vegetables (Longer Cook) | 1 lb baby potatoes (halved or quartered) | Toss with 1 tbsp olive oil, salt, and pepper. Add to pan first. |
| Vegetables (Shorter Cook) | 1 head broccoli florets, 1 red bell pepper (chopped), 1 red onion (cut into wedges) | Toss with 1 tbsp olive oil, salt, and pepper. Add to pan after potatoes have cooked for 15-20 minutes. |
| Flavor Enhancers | Lemon wedges, fresh parsley (for garnish) | Squeeze lemon juice over cooked meal. Garnish with parsley. |
How to Execute:
1. Preheat your oven to 400°F (200°C).
2. Line a large baking sheet with parchment paper for easy cleanup.
3. Toss the denser vegetables (like potatoes) with oil and seasonings and spread them on the baking sheet. Roast for 20 minutes.
4. While those roast, prepare your protein and quicker-cooking vegetables, tossing them with oil and seasonings.
5. Add the protein and quicker-cooking vegetables to the baking sheet with the partially cooked potatoes. Spread everything in a single layer.
6. Roast for another 20-25 minutes, or until the chicken is cooked through and the vegetables are tender and slightly caramelized.
7. Serve directly from the pan. For authoritative tips on oven temperatures and food safety, consult resources like the FDA’s Safe Minimum Internal Temperature Chart.
2. Quick Quesadillas
Cheesy, filling, and incredibly adaptable, quesadillas are a weeknight lifesaver.
The Build-Your-Own Formula:
- Tortillas: Flour or corn tortillas work great.
- Cheese: Shredded cheddar, Monterey Jack, pepper jack, or a Mexican blend are perfect.
- Fillings: Cooked shredded chicken or beef, black beans, corn, sautéed onions and peppers, spinach, or even leftover cooked rice.
- Fat: A little butter or oil for the pan.
Simple Steps:
1. Heat a skillet over medium heat. Lightly butter or oil one side of a tortilla.
2. Place the tortilla butter-side down in the skillet.
3. Sprinkle cheese over half of the tortilla.
4. Add your desired fillings over the cheese.
5. Fold the other half of the tortilla over the fillings.
6. Cook for 3-5 minutes per side, until the tortilla is golden brown and crispy, and the cheese is melted and gooey.
7. Cut into wedges and serve with salsa, sour cream, or guacamole.
3. The “Everything But The Kitchen Sink” Fried Rice
Fried rice is the ultimate way to use up leftovers. It’s fast, forgiving, and incredibly delicious.
Core Components:
- Cooked Rice: Day-old, cold rice is essential for the best texture.
- Protein: Scrambled egg, diced cooked chicken, pork, shrimp, or firm tofu.
- Aromatics: Minced garlic, grated ginger, chopped onion or scallions.
- Vegetables: Frozen peas and carrots are a classic, but corn, diced bell peppers, broccoli florets, or edamame are also great.
- Sauce: Soy sauce, a dash of sesame oil, and optionally a little oyster sauce or hoisin sauce.
The Quick Cook Method:
1. Prep: This is key! Have everything chopped and ready to go.
2. Scramble Egg (Optional): If using, whisk an egg with a splash of soy sauce. Push your prepped ingredients to one side of a very hot wok or large skillet. Pour the egg into the empty space and scramble quickly. Break into small pieces and mix with other ingredients.
3. Sauté Aromatics & Veggies: Add a tablespoon of high-heat oil (like vegetable or canola oil) to the pan. Add garlic, ginger, and onion. Stir-fry for about 30 seconds until fragrant. Add harder vegetables (like broccoli) and stir-fry. Add frozen peas and carrots and cook until tender-crisp.
4. Add Rice & Protein: Add the cold, cooked rice and your protein to the pan. Break up any clumps of rice. Stir-fry, tossing everything together for a few minutes until the rice is heated through.
5. Sauce It Up: Drizzle soy sauce and sesame oil (and any other sauces) over the rice. Continue to toss and stir-fry until everything is well combined and coated.
6. Serve:** Taste and adjust seasoning if needed. Serve hot!
Tips for Maximum Flavor

Elevating your simple dishes is all about a few smart techniques and pantry additions.
1. Master Your Seasoning
Salt is your best friend, but don’t be afraid to explore!
Key Seasoning Players:
- Salt: Enhances all other flavors. Use kosher salt or sea salt for best results.
- Black Pepper: Freshly ground pepper adds a pungent kick.
- Garlic Powder/Onion Powder: Pantry staples for instant savory depth.
- Dried Herbs: Oregano, thyme, basil, rosemary – great for Italian, Mediterranean, or roasted dishes.
- Spices: Paprika (sweet or smoked), cumin, chili powder, curry powder open up worlds of flavor.
- Acids: A squeeze of lemon or lime juice, or a splash of vinegar (balsamic, red wine, apple cider) at the end of cooking brightens flavors.
2. The Power of Aromatics
These are the flavor foundations of many dishes.
- Garlic: Fresh garlic, minced or sliced, is essential.
- Onion: Yellow, red, or green onions add sweetness and pungency.
- Ginger: Fresh ginger adds warmth and a zesty kick, especially in Asian-inspired dishes.
To get the best flavor from aromatics, sauté them gently in oil or butter at the beginning of cooking until softened and fragrant.
3. Don’t Fear Heat!
A little spice can transform a dish.
- Red Pepper Flakes: Adds a subtle warmth to pasta sauces, roasted vegetables, and stir-fries.
- Hot Sauce: A few dashes can add depth and heat to almost anything.
- Fresh Chili Peppers: Jalapeños, serranos, or even milder poblanos can add fresh, vibrant heat.
Start with a small amount and add more to taste.
4. Umami Boosters
Umami is the savory “fifth taste” that adds depth and richness.
- Soy Sauce/Tamari: Essential for stir-fries and marinades.
- Parmesan Cheese: Adds a salty, nutty, umami punch to pasta and vegetables.
- Mushrooms: Especially dried mushrooms (like shiitake), add incredible depth.
- Tomatoes: Tomato paste or sun-dried tomatoes are concentrated sources of umami.
Adding a sprinkle of Parmesan cheese to your pasta or drizzling soy sauce into a stir-fry can make a world of difference.